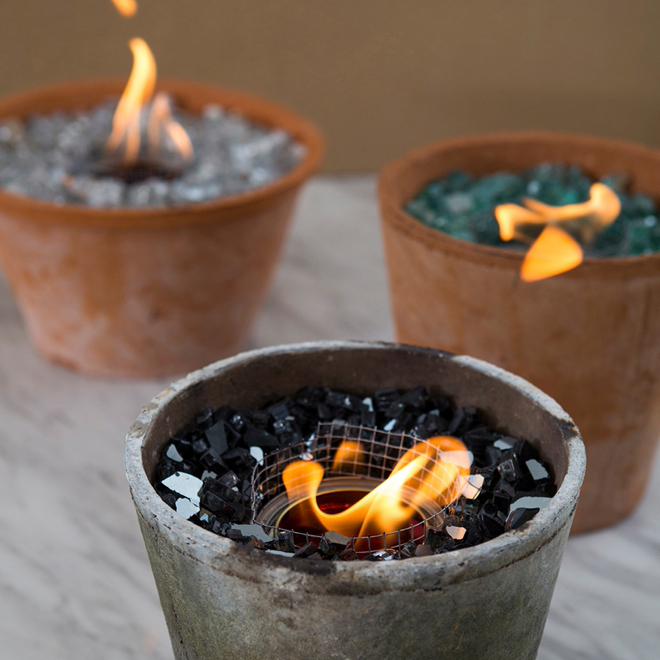

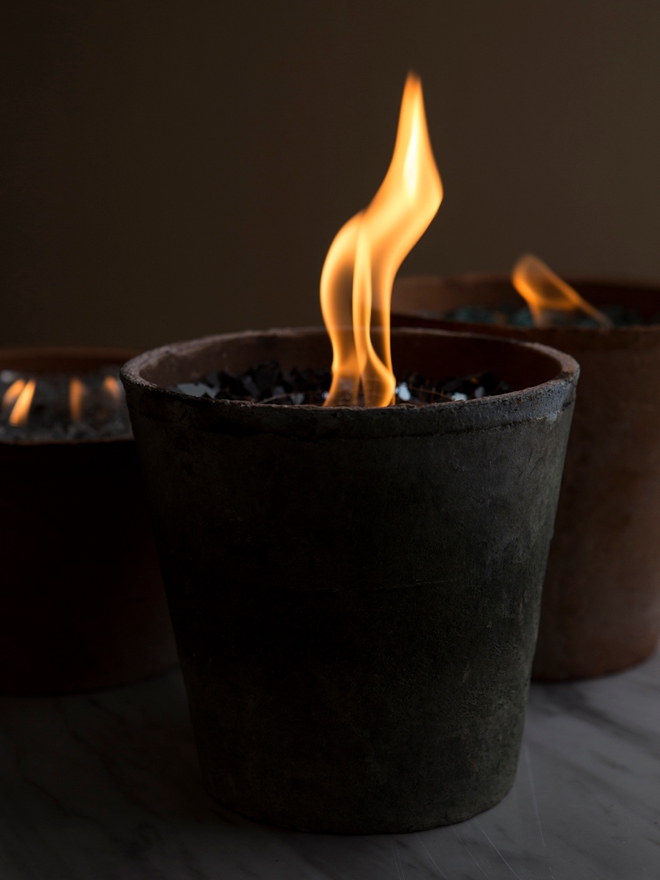
DIY Table Top Fire Pits
Happy DIY Friday lovelies! It’s summer and to me, that means s’mores! Actually, I prefer to just toast and eat the mallows and not do the whole chocolate and graham thing. I also love nothing more than a night by the fire this time of year. I’ve been seeing ideas for tabletop fire pits and immediately was intrigued. I ended up finding these awesome non-toxic fuel cans that are alcohol based and safe to burn indoors… so here’s a fabulous idea on how to create tabletop fire pits that could be amazing centerpieces, outdoor reception decor, or even the perfect mallow toaster at a s’mores station!
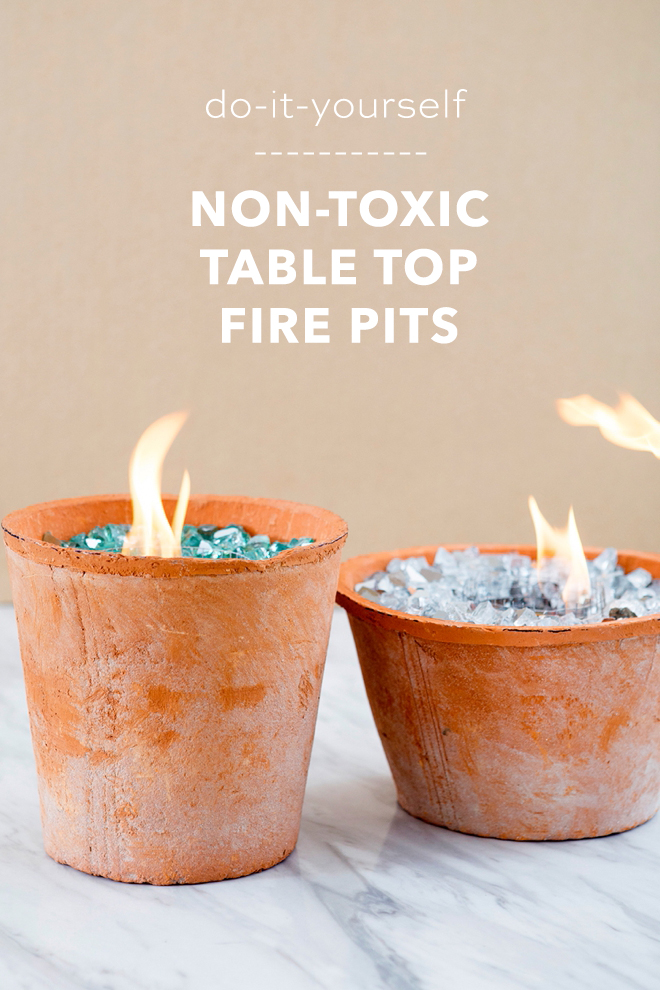
Any Clay Pots Will Do
I bought these three pots from Michaels but you can use any terra cotta or cement pots you want! You could even make your own pots if you’re feeling really crafty. Glass bowls will not be a good choice for this project, stick to clay.
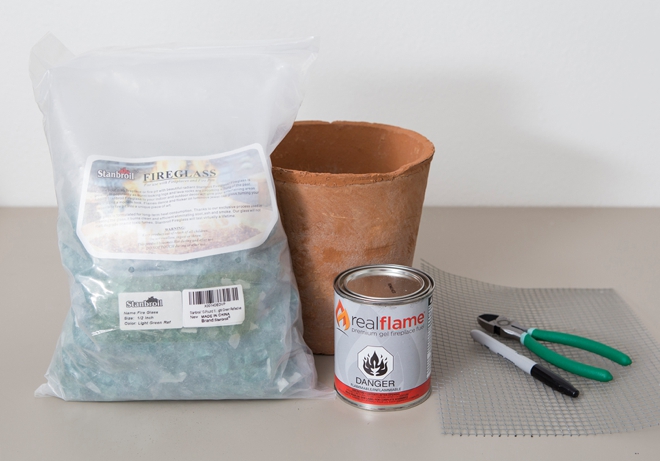
SUPPLIES:
- Real Flame Gel Fuel, non-toxic, safe to burn indoors and outdoors!
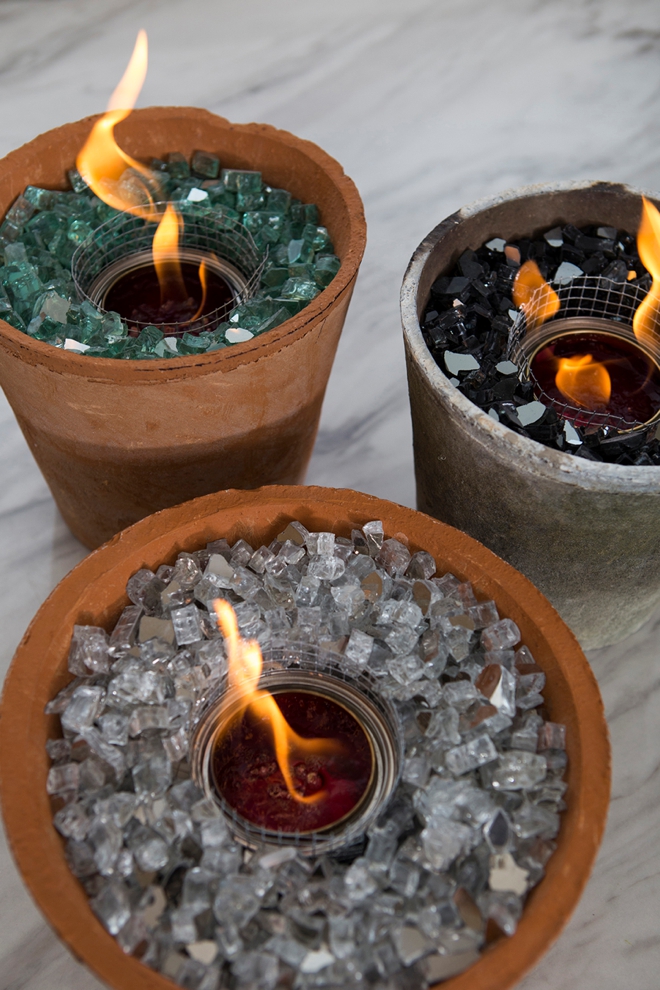
- Fire Pit Glass (I used Light Green, Platinum, and Onyx Black)
- 1/4″ Galvanized Hardware Cloth
- Terra Cotta Pots
- Wire Snips
- Sharpie
- Wire
- Lighter
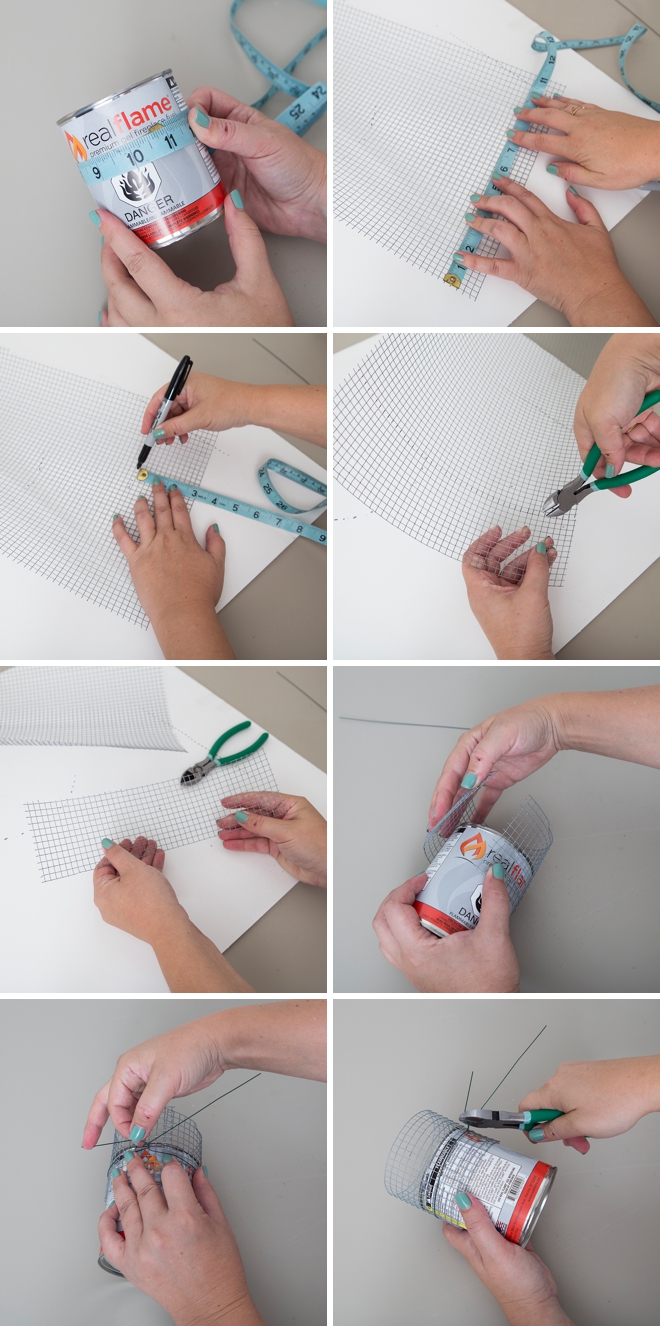
Fire Pit Part 1
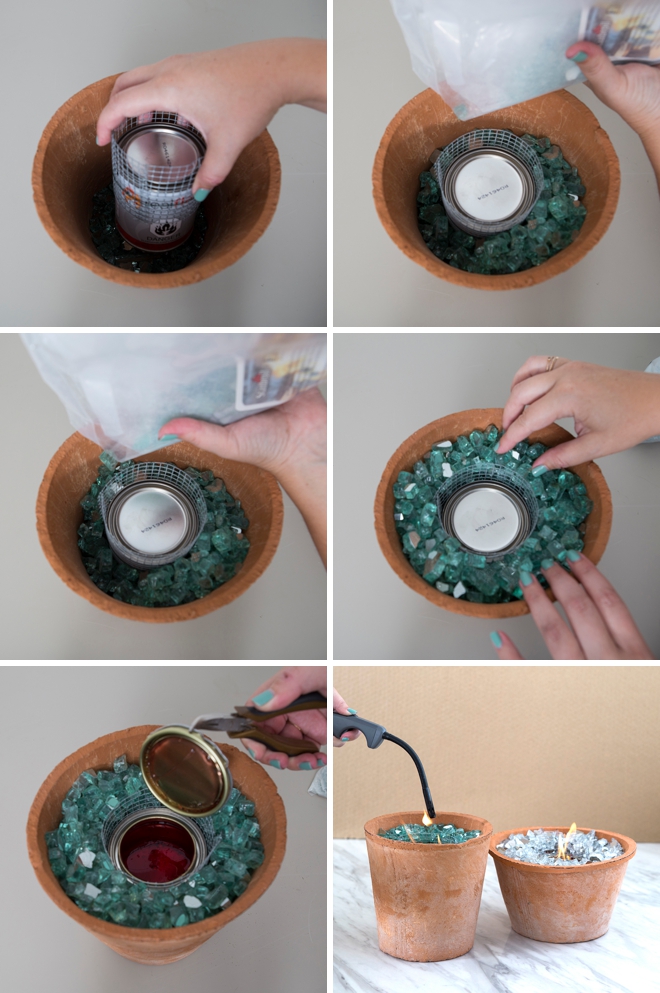
I’ve broken this project down into two parts; the prepping of the fuel can and the adding of the glass… so let’s get started!
- Measure the diameter of your fuel can, mine was about 11″.
- Using 1/4″ galvanized mesh or “hardware cloth” cut out a rectangle with wire cutters that is at least 3″ x the diameter of your can. Mine was 11″ x 3″. I used a Sharpie to mark off the area. You can make the rectangle taller if your pot is taller.
- Next wrap the mesh around the top of the can and secure tightly with a piece of wire.
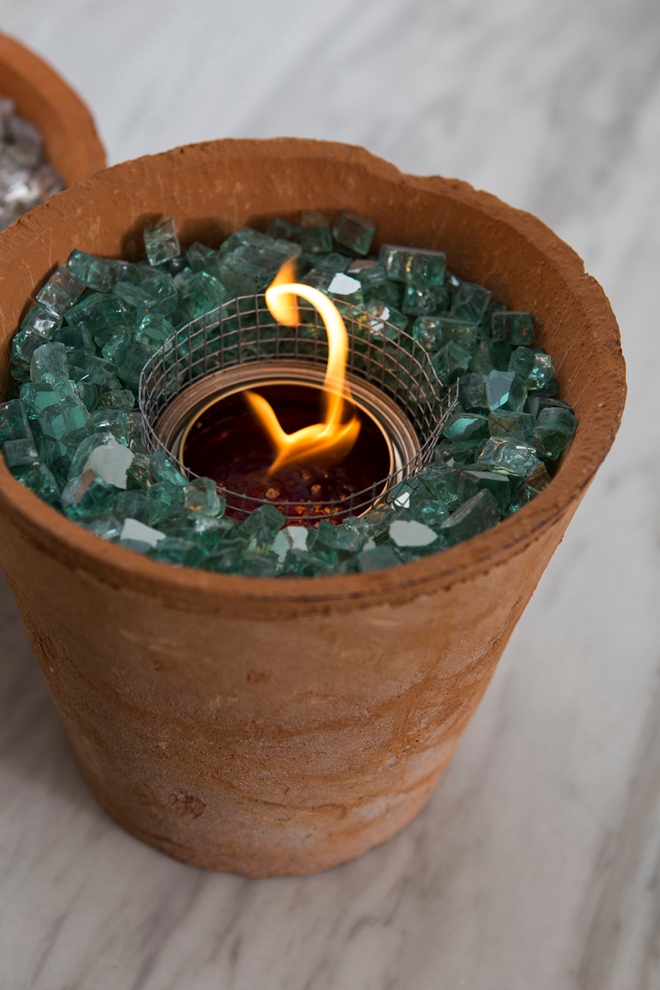
Adding this mesh 1″-4″ above the top of the can, depending on your size of pot, will allow you to fill your pot with more fire glass, and not have it fall in the fuel gel!
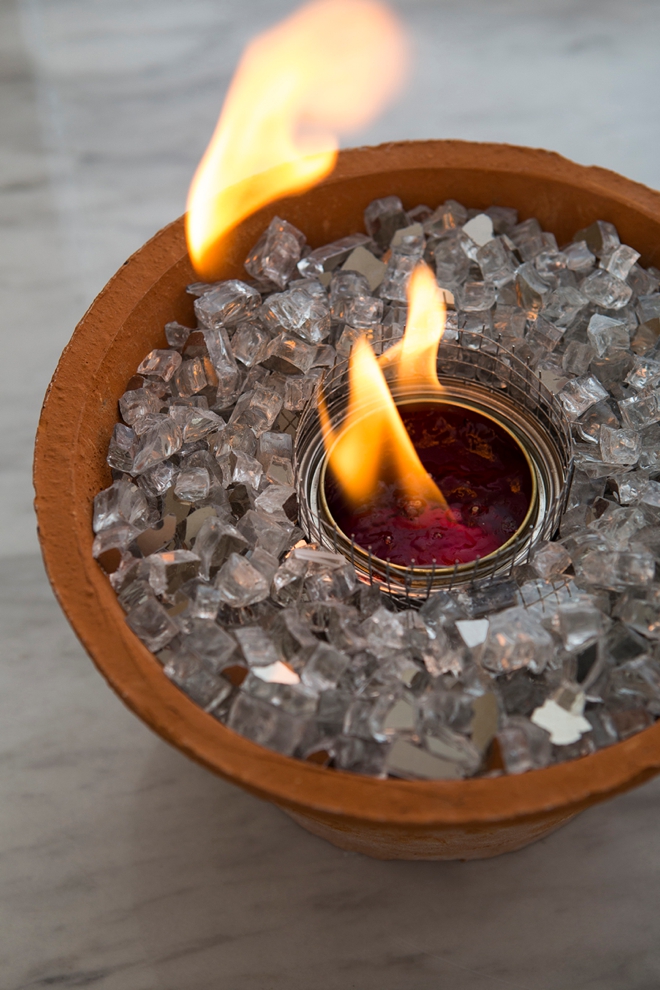
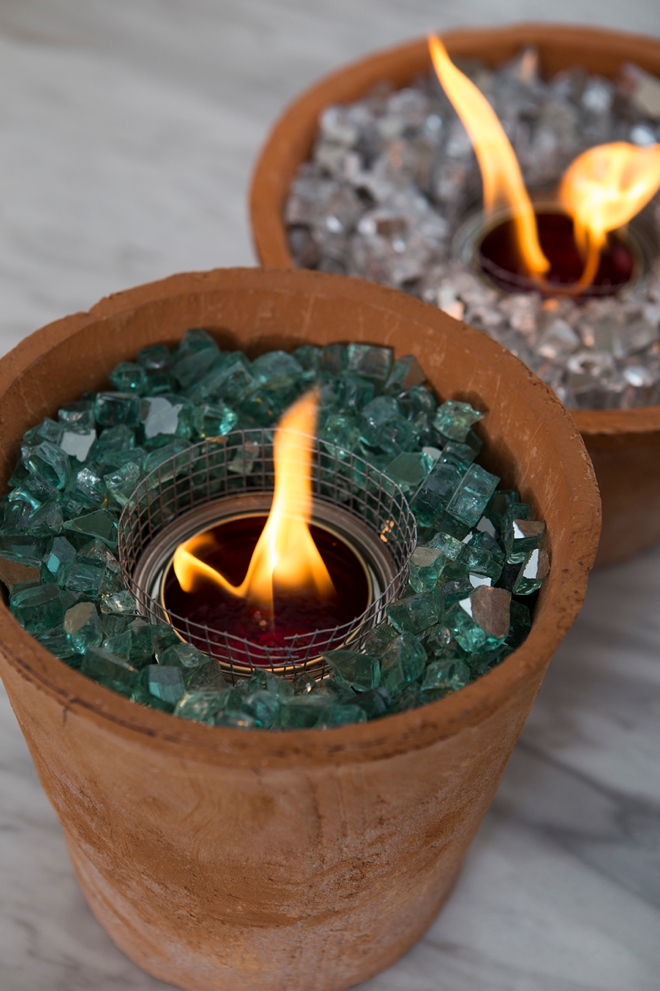
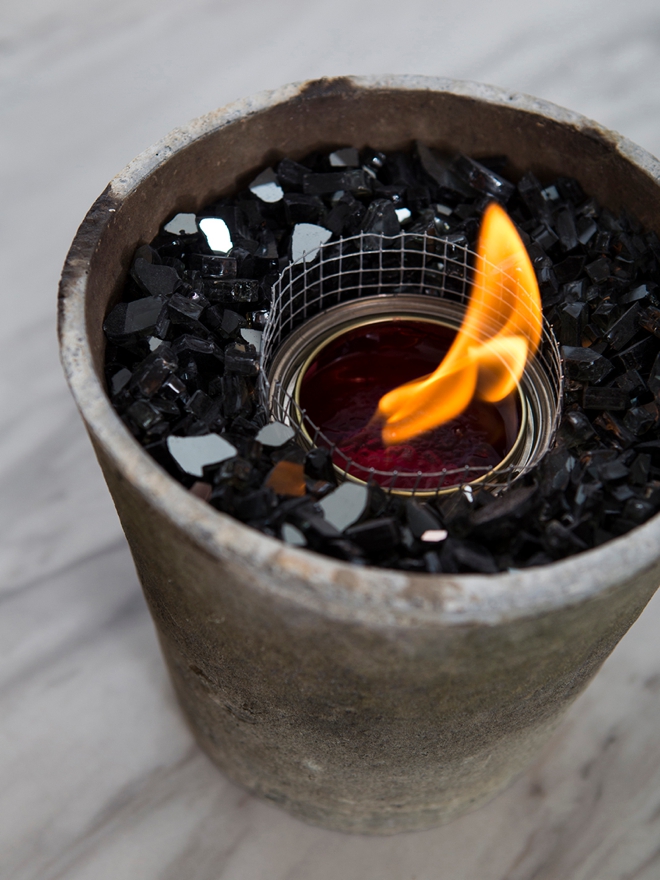
Fire Pit Part 2
- Now the easy part! Add a little bit of fire pit glass to your pot.
- Then add the fuel can with the mesh
- Next fill with fire glass around the can to the top of the mesh.
- Remove the lid only when ready to burn. Replace the lid to extinguish the fire.
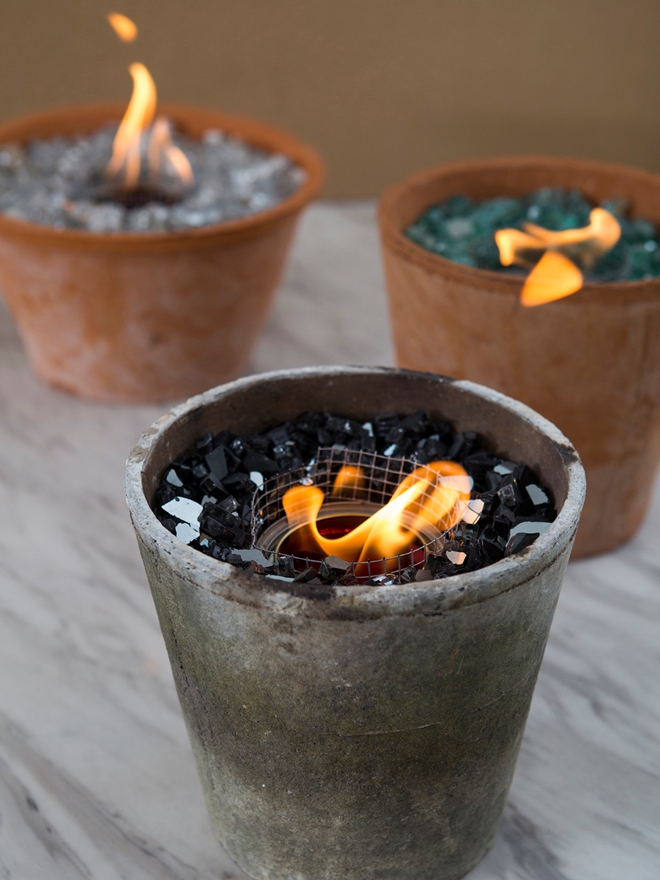
Crafters Tip: I tried a few different configurations of mesh and glass, and it came down to the fact that you can’t cover the fuel can and actually have it burn properly. Some have shown that online and it doesn’t work. Also extinguishing the fire needs to be easy to do, especially if you’re having this out at an event, so having access to replace the lid is a necessity!
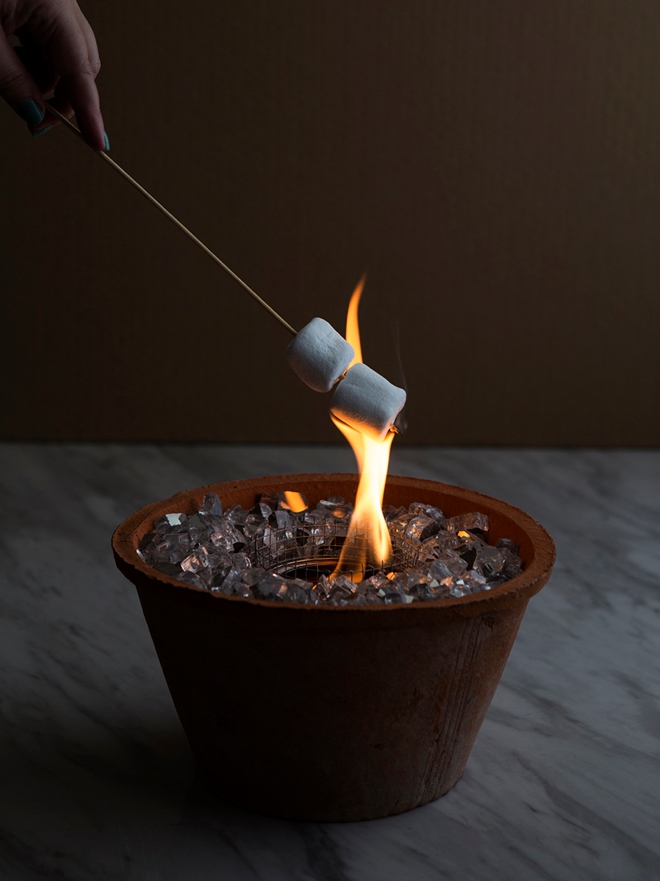
S’more Love
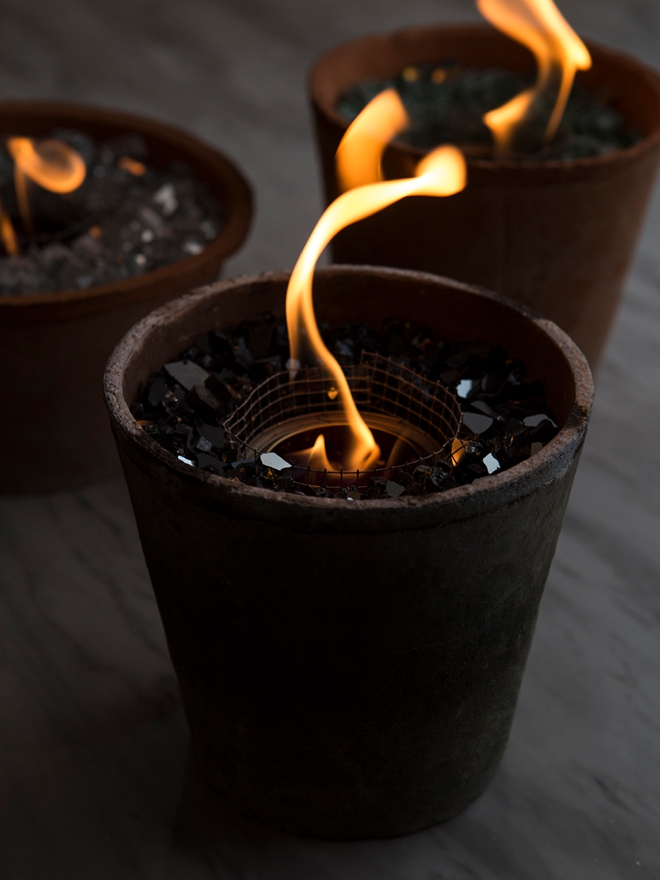
These table top fire pits would be the absolute PERFECT detail to add to a S’more station at your next event. The non-toxic alcohol based flame means a clean burning flame for your toasty desserts!
As with all our DIY tutorials, if you create one of our projects please send us a picture – We Love Seeing Your Creativity! If you use Instagram or Twitter please use the hashtag #SomethingTurquoiseDIY and it will show up on our Get Social page. Happy Crafting!
DIY Tutorial Credits
Photography + DIY Tutorial: Jen Causey of Something Turquoise // Real Flame Gel Fuel Cans: Amazon // Fire Pit Glass: Amazon // 1/4″ Galvanized Hardware Cloth: Amazon // Terra Cotta Pots: Michaels // Nail Polish: OPI – Withstands the Test of Thyme
Shop The Supplies:
Find the supplies you’ll need for this project from our affiliate links below:

Comments