

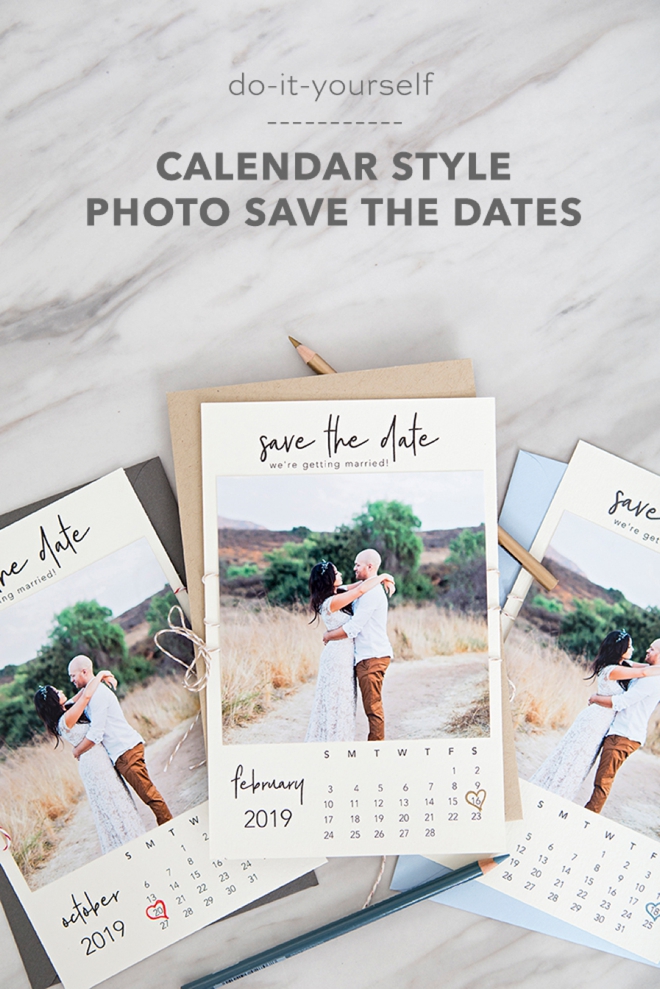
DIY Calendar Style Photo Save The Dates
-Sponsored Post-
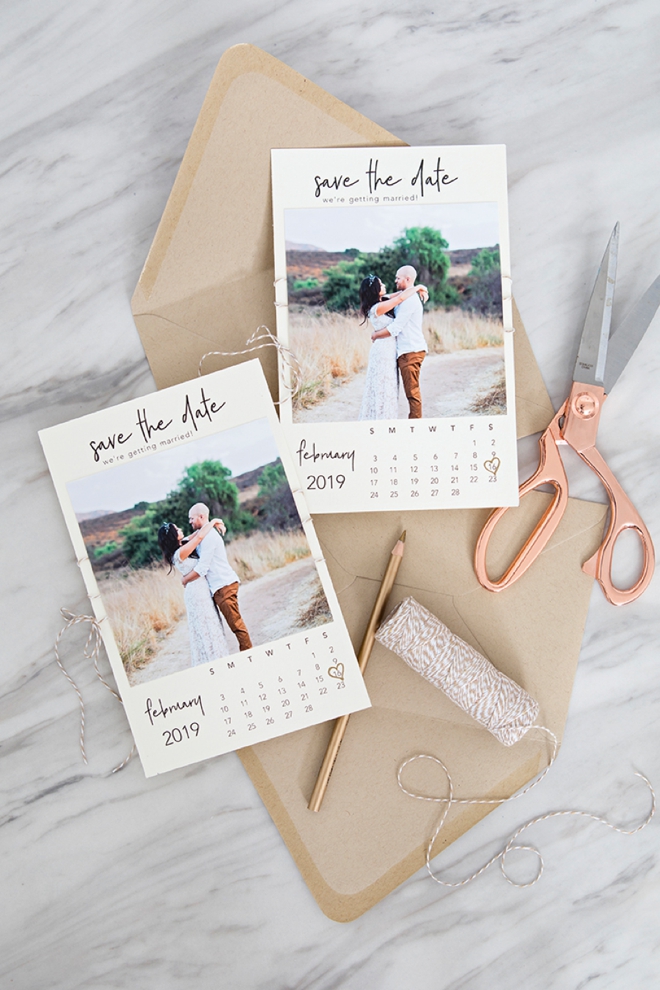
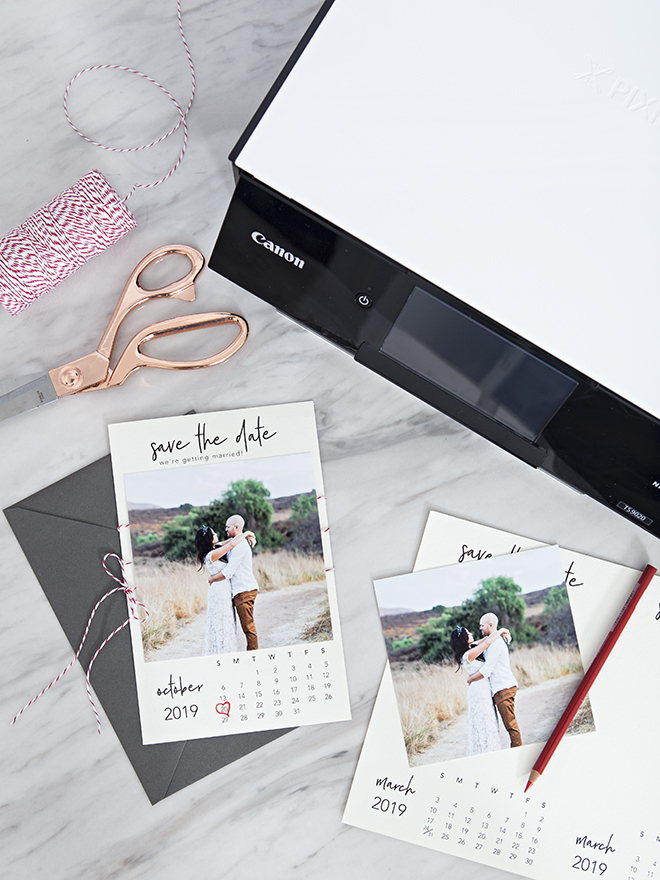
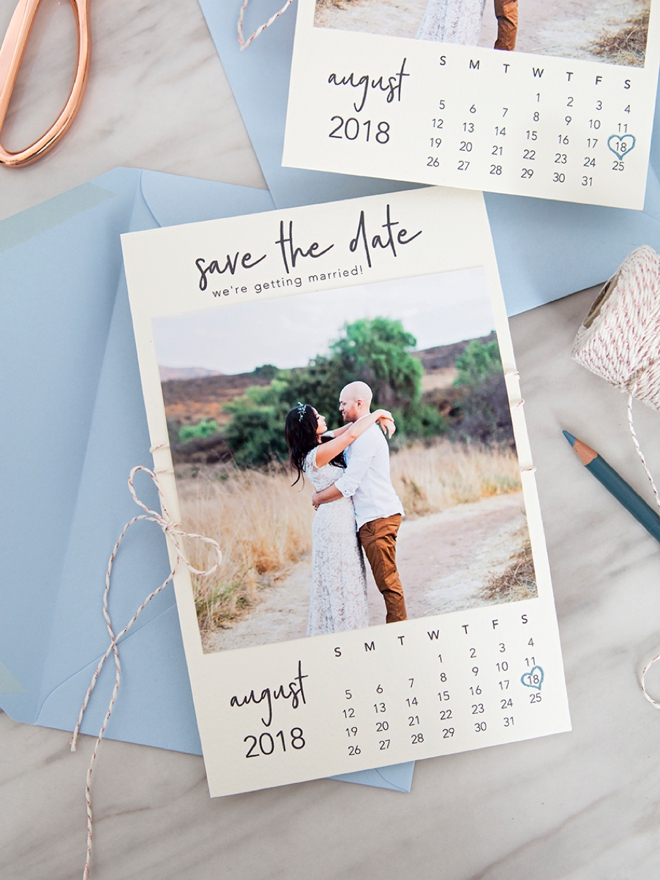
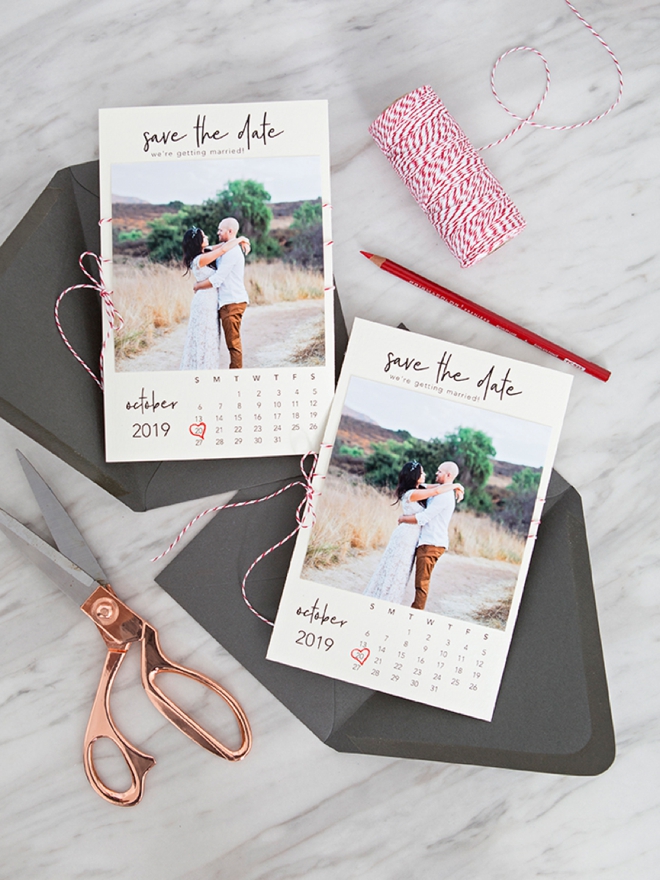
I’m going to be bold and say that Something Turquoise has made the “calendar-style” Save the Date invitation a popular trend in wedding projects. Since you all love our designs so much, it’s up to me to get creative and share MORE styles with you! I’m obsessed with today’s new design for a few reasons; 1. they are super quick to make 2. they’re cost-friendly 3. they are chic DIY at it’s best. I’m using my awesome Canon TS9020 All-in-One Printer to rock this project, the photo and paper print quality is exceptional while being incredibly fast at the same time. These cards are a bit on the larger side (A9 size), so there is only 1 cut to make with the paper trimmer, and since we’re using precut photo paper there is minimal cutting and measuring involved, it’s fantastic. Download our free designs at the end of the post, print your month, print your photo, assemble and mail… and personalizing with your favorite color scheme is super easy too!
Choose Your Colors
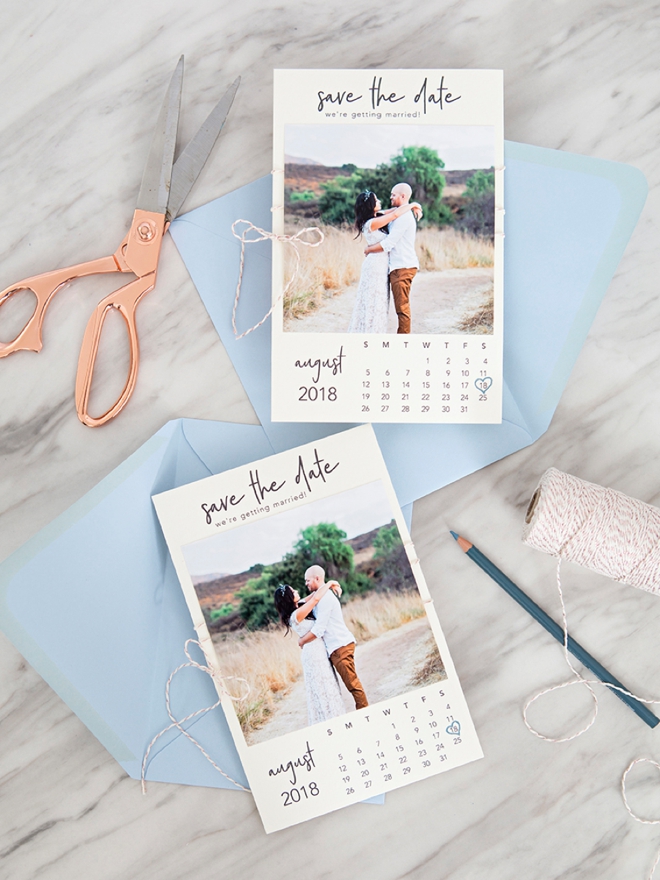
These Save the Dates are super easy to customize! You choose the paper and envelope color, the photo, the twine, and the marker you use to mark the date. No two invitations will look alike. Match to your wedding theme or pick colors that compliment the photo!
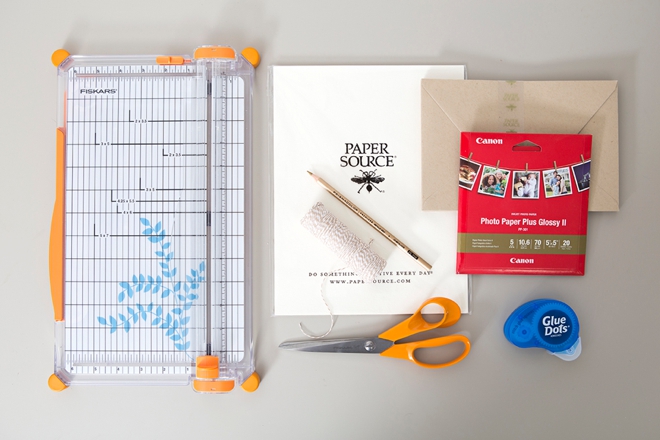
SUPPLIES:
- Canon TS9020 All-in-One Printer
- Canon 5″ x 5″ Photo Paper Plus Glossy II
- 8.5″ x 11″ Light Colored Cardstock
- A9 Sized Envelopes
- Paper Trimmer or Scissors
- Color Pencils
- Glue Dots
- Twine
How-To:
- Print your engagement photos using the Canon Photo Paper Plus Glossy, 5″ x 5″. If you have a Canon TS9020, you can do it straight from an SD card! To print borderless you’ll need to manually select the exact square paper you’re using on the printer and your photo will have to be cropped to a square.
- Download your “year” of designed calendars at the end of the post.
- Print only the month you need using your favorite Canon printer and light colored 8.5″ x 11″ cardstock.
- Trim the paper in half at exactly 5.5″ to create two A9 sized save the dates.
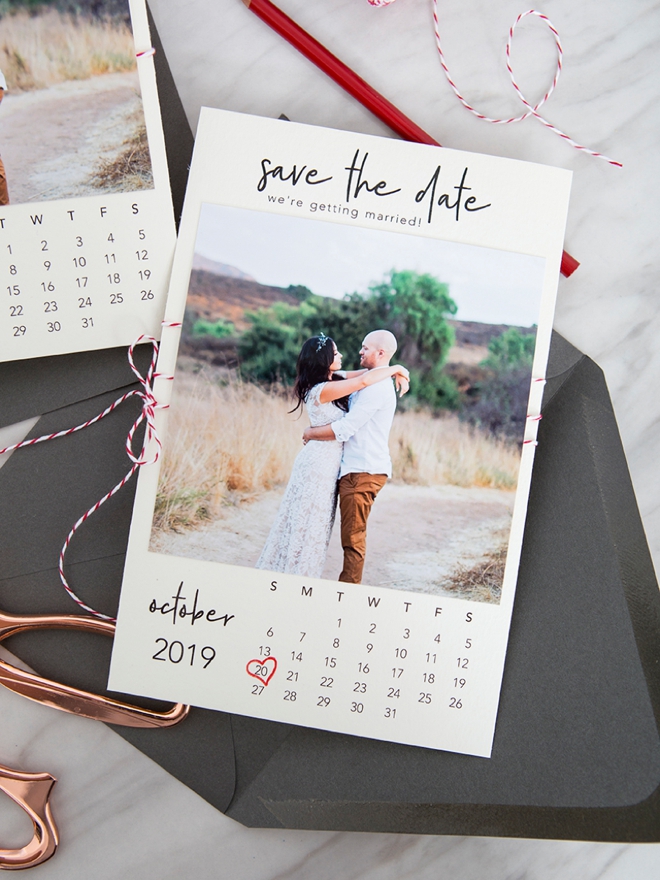
- Circle or heart your date with a colored pencil or pen.
- Wrap the blank space with twine and tie a bow.
- Add Glue Dots across the top and bottom of the photo to adhere over the twine.
- Voila, you’re done and have created the sweetest photo style save the dates that the internet has to offer, at least I think so!
Total Cost
Assuming you already have a home printer, ink, paper trimmer and scissors, here is the cost breakdown for 50 invitations using these exact items including postage:
- 50 Envelopes: $33, 5 sets of 10
- Cardstock: $35, 5 packs of 10
- Photo Paper: $14, 3 packs of 20
- Glue Dots: $12, 2 rolls
- Twine: $14, 1 roll
- Pretty Pencil: $2
- Postage: $25, 50 at $0.50
- $135; $2.70 each, mailed!
DIY TUTORIAL SPONSORED BY:
Canon U.S.A., Inc. prides itself on allowing consumers to create and preserve beautiful imagery, from capture to print. With wireless technology and seamless printing capabilities, you can print your photos and printables with precision and ease.


As with all our DIY tutorials, if you create one of our projects please send us a picture – We Love Seeing Your Creativity! If you use Instagram or Twitter please use the hashtag #SomethingTurquoiseDIY and it will show up on our Get Social page. Happy Crafting!
DIY Tutorial Credits
Photography + DIY Tutorial + Free Printables: Jen Causey of Something Turquoise // Canon PIXMA TS9020 Photo Printer and Photo Paper: courtesy of Canon // 8.5″ x 11″ Carstock in Luxe Cream, A9 Envelopes in Paper Bag, Slate and Bluebell: Paper Source // Paper Trimmer: Fiskars // Glue Dots: Amazon // Twine: Amazon // Nail Polish: OPI – Withstands the Test of Thyme
Shop The Supplies:
Find the supplies you’ll need for this project from our affiliate links below:

Comments